NetlifyCMSをGridsomeに適用する方法
以前の記事でGridsomeを使う設定をおこないました。今回はCMSを導入し使う設定をおこないます。使うCMSはNetlifyCMSです。
すでに海外の方が使える設定を公開していて参考にさせてもらいました。
ディレクトリとファイルの作成
YOUR_DIRRECYORYE/static/adminディレクトリを作成し、配下に2つのファイルを作成します。
index.htmlとconfig.ymlです。
index.html
<!doctype html>
<html>
<head>
  <meta charset="utf-8" />
  <meta name="viewport" content="width=device-width, initial-scale=1.0" />
  <title>Content Manager</title>
</head>
<body>
  <!-- Include the script that builds the page and powers Netlify CMS -->
  <script src="https://unpkg.com/netlify-cms@^2.0.0/dist/netlify-cms.js"></script>
</body>
</html>
config.yml
backend:
      name: github
      branch: master # ブランチ名を記入します
      repo: yoshitaku-jp/challenge-every-month # 自分のリポジトリを記入します

    media_folder: "static/images/uploads" # YOUR_DIRRECYORYE/staticの配下に画像のアップロード先を指定します。
    public_folder: "/images/uploads" # The src attribute for uploaded media will begin with /images/uploads

    collections:
      - name: "blog" # Used in routes, e.g., /admin/collections/blog
        label: "Blog" # Used in the UI
        folder: "blog" # The path to the folder where the documents are stored
        create: true # Allow users to create new documents in this collection
        slug: "{{year}}-{{month}}-{{day}}-{{slug}}" # Filename template, e.g., YYYY-MM-DD-title.md
        fields: # The fields for each document, usually in front matter
          - {label: "Layout", name: "layout", widget: "hidden", default: "blog"}
          - {label: "Title", name: "title", widget: "string"}
          - {label: "Publish Date", name: "date", widget: "datetime"}
          - {label: "Featured Image", name: "thumbnail", widget: "image"}
          - {label: "Body", name: "body", widget: "markdown"}
YOURSITE/admin/ にアクセスする
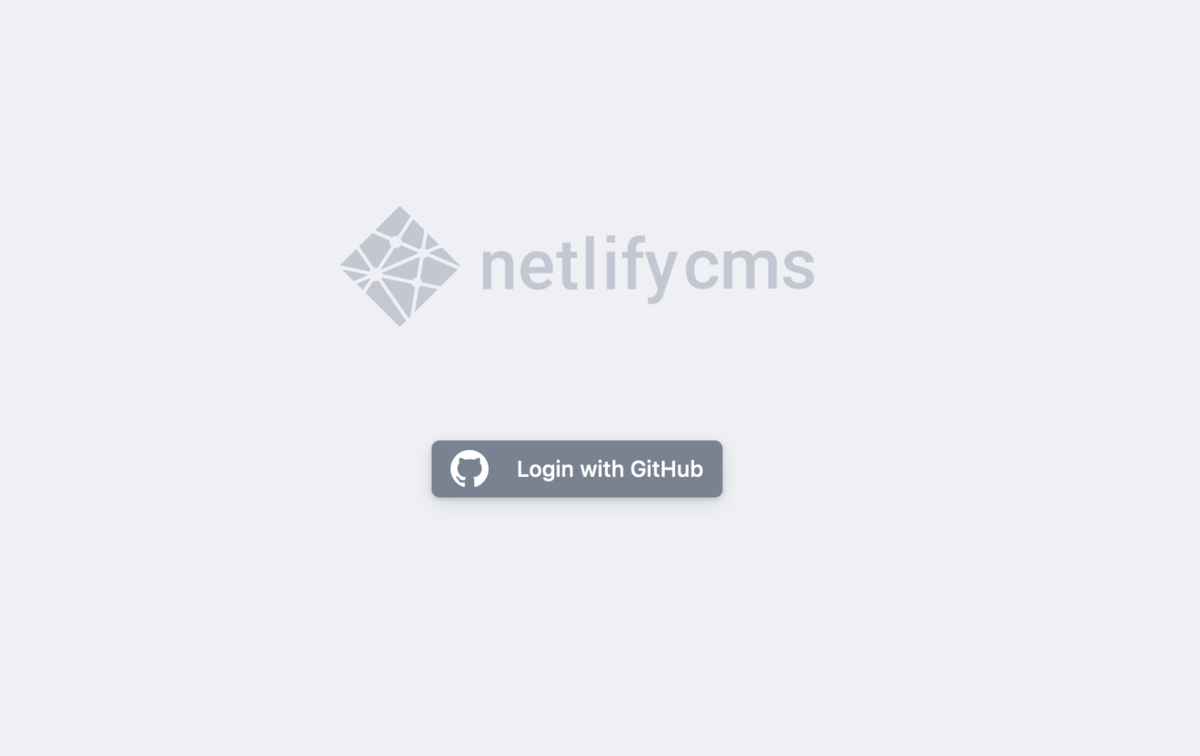
次の画面が出れば成功です
